Log End Flooring

Log end tile flooring

Heart pine log end flooring

Log end floor made with custom fit 2” thick slabs

End grain hardwood flooring is known for it’s unique grain patterns and superior hardness

End grain driftwood flooring

Hexagonal end grain wood flooring

Historic end grain cobblestone

Reclaimed log end wood tile flooring
I’ve assembled some of the best photos I could find on log end flooring. This type of flooring is made with end grain (with the wood grain oriented vertically). Log end or end grain flooring has been used for centuries in palaces, luxury homes and high traffic areas because of its beauty and durability. End grain is harder than long grain (horizontal grain) and that’s why it is used on professional quality chopping blocks and top quality flooring.
“Residential real estate agents say homes with wood floors hold their value better, sell faster, and fetch higher prices, according to a recent nationwide survey commissioned by the National Wood Flooring Association (NWFA). By a three-to-one margin, real estate agents said that a house with wood floors would sell faster than a carpeted house. Some 58 percent said a house with wood floors would bring a higher price. Health benefits are also a factor for those considering hardwood flooring. Whereas carpets over the years gather mildew, mites, animal dander, dust and pollen beneath the surface that can cause respiratory problems and aggravate allergies, hardwood flooring has a very durable surface that is easy to clean and maintain. Properly maintained hardwood floors are extremely resistant to mildew and the other ails of carpets. Hardwood and laminated wood floors are the smart and healthy choice.
Hardwood flooring is always made up of a real hardwood surface, whether it’s solid or engineered hardwood. The result is a natural, real hardwood floor that can be resanded, stained, and varnished to match your tastes and changes in your decor. If it’s well cared for, it will last nearly forever. A solid hardwood floor can be sanded and refinished several times over many, many years.”
http://earthbagbuilding.wordpress.com/2012/03/04/log-end-flooring/
Kitchen Wall Awesomeness
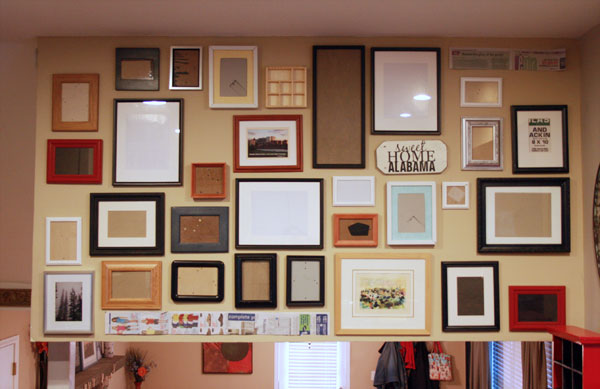
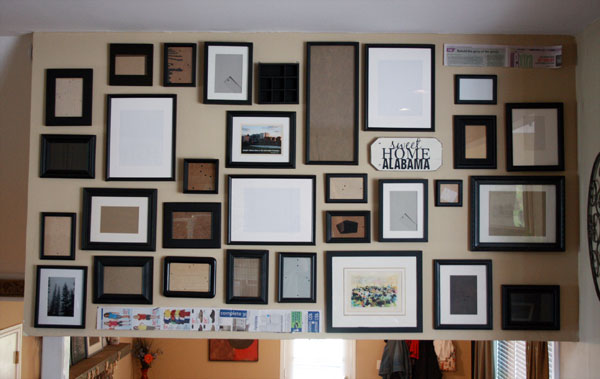
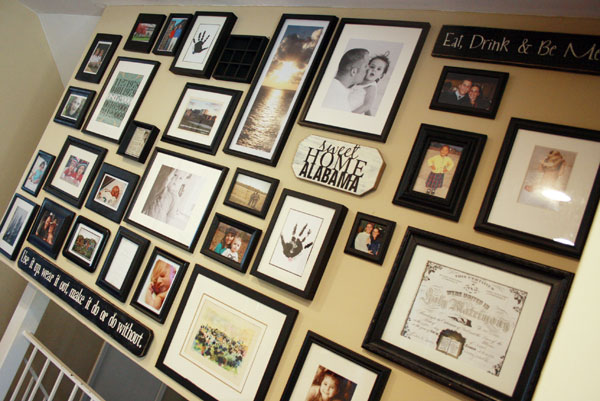
Feast your eyes upon my new gallery wall:

I liked it. It worked. And it stayed. Until one of those frames fell down and broke. Then it didn't work anymore, for obvious reasons.
A couple of weeks ago, I was beyond inspired by this post at a really cool home decor blog called YoungHouseLove.com.
"I can DO that!!!" (and it didn't hurt that there are about 100 frames floating around my house, so I didn't have to buy a single thing!
So, for the past several weeks, I've been semi-obsessed with getting this project done. Here's the process I took step-by-step:
First, I collected a ton of frames from around the house. Some were displayed, some were in the garage, but no frame was safe!

Next, I arranged them into a design on the floor in our kitchen, to get a general idea of how I wanted them to be layed out:

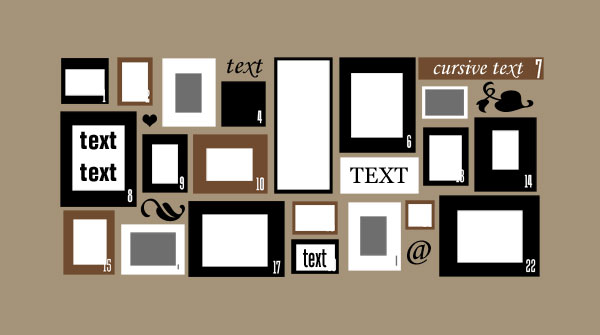
Since I couldn't pick up this whole grouping and eye-ball it against the wall, I decided to make a to-scale digital mockup of the whole collage so I could see how it would fit on the wall. I ended up with this:
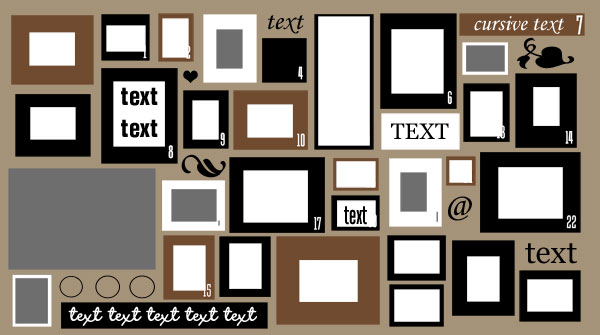
And decided it needed SO much more!!! So I scooted this grouping up to the top right corner and went searching for even more frames around the house, until I came up with this design, which I was much happier with:
Next, I cut newspapers to size to match up with each frame and taped it to the wall where I wanted the frame to hang. I even numbered them (and the frames themselves) to be sure I didn't confuse myself. Once those were up, I did a little more tweaking (especially in that lower left corner, which you can see is quite different than my digital mockup) until I was left with this:

I left that up a few days to try and decide whether I was going to like this new design in actuality or not. Until Ben said "Oh,just hang them up already. Commit." So I did.
HUGE tip -- With a paper template for each frame, I pulled each template down (one at a time), layed it across the back of the frame, marked where the hole in the wall should go, taped the paper back to the wall, and hammered in the nail. WORKS PERFECTLY every time! Then we had this lovely mis-match of frames on the wall:
The night we left this up, it caught me off-guard every time I rounded the corner into the kitchen. I think maybe I was having some gallery-wall remorse. It reminded me a little more of a crowded old lady's house than the sleek and modern gallery wall I had envisioned.
During this whole process I flip-flopped back and forth trying to decide whether to paint all the frames black, keep them their natural color, or do a combination of silver, wood, black and white. After seeing them on the wall...we quickly decided all-black was a must! Good thing I have lots of black spray paint on hand at all times!
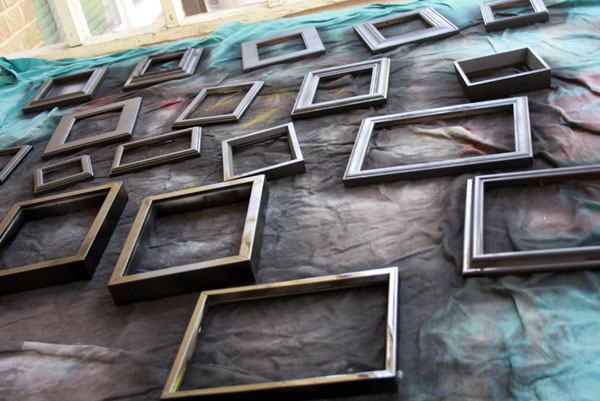
Ahh...much better, eh?
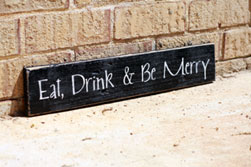
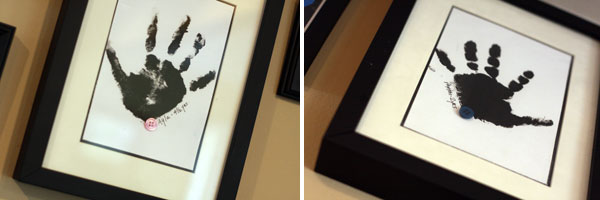
Then it was time to fill the frames with pictures & memorabilia and fill in the gaps with a few handmade projects. I started with these fun projects:


Then searched the house for a few meaningful memorabilia items:
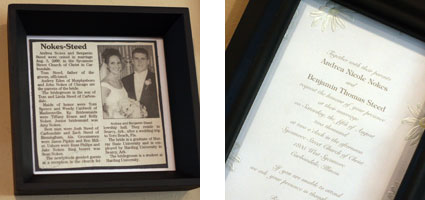
- wedding announcement newspaper article
- decorative wedding certificate
- our wedding invitation (perhaps I should replace some of these with NON-wedding things..hmm)
- a picture of Ben & I at our high school graduation
- a photo of our sponsored Compassion International child from Ecuador
- newborn hospital photos of each of our kids
- Ben & I in our "Scrapjazz" shirts on a business trip (pre-children!)
- our home in Rochester, MN which was the first house we owned
I may change a few of these out occasionally, but I tried hard to pick timeless and sentimental pieces to tell the story of our family.
So here's the finished product (for now...I just can't call anything complete...I'm sure I'll find some fun knick-nacks to add to those empty spaces!):
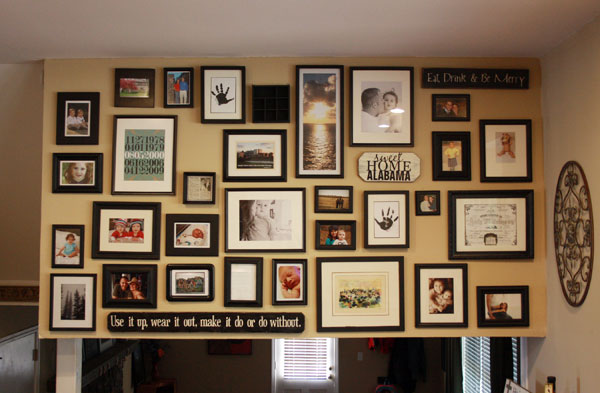
And here you can see some context with the rest of the kitchen/dining room:
Ahh...I love a finished project.
The Make Room

Be your own Interior Decorator.
The Make Room is an easy-to-use interactive room planner that allows you to plan your unique living space.Create single rooms or entire floor plans by simply dragging and dropping Urban Barn furniture into your plan. When your masterpiece is complete you can save your space, email it, or print it out and use it as your shopping list.
I can't WAIT to start on my OWN projects one day...but for now...I am more than content with the way things are in my little neck of the woods! :)
No comments:
Post a Comment